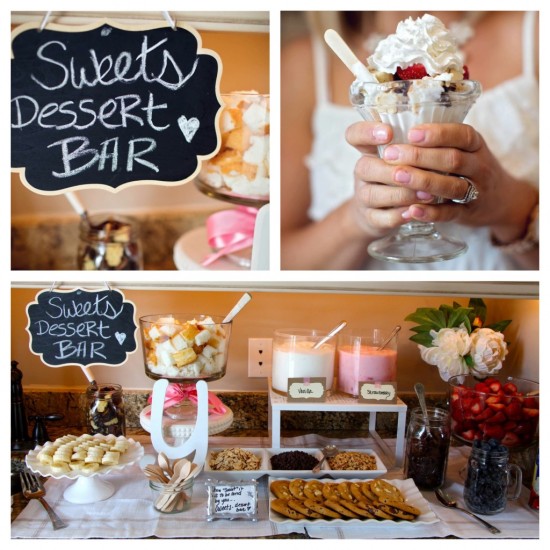
Summer is just about officially here, which is the season of bridal showers, graduation parties, outdoor gatherings! Some of my favorite things to do when I host (or cater for a friends party) is do a food or dessert bar. The great thing about a food 'bars' is that they are easily put together, they please a crowd, and they look simply adorable, making them one of the most memorable parts of any party!
Here are some tips and steps that will help you create a dessert and/or food bar that your guests are sure to love!
Step 1. Decide whether you want to serve food, desserts, or both.
This decision will primarily be made based on the time of day that you are hosting the party. If you are throwing the party at noon for example, your guests will most likely be expecting lunch. If on the other hand you plan to only serve appetizers or desserts, just be sure your party is not around a general meal time, or you may have very hungry guests! Also, as a general rule of thumb, I always write something about what I plan to serve on the invites, just so there is no confusion.
Step 2. Evaluate your crowd to determine what types of food/desserts to prepare.
The next thing I begin to think about when catering or hosting a party is who will be there. For example, if I know there are mostly women coming, my thoughts automatically lean more towards a salad bar. (No offense guys, but this tends to have more of a feminine appeal, and turns out really pretty!) For example, for my sisters wedding shower, I did a huge salad bar that not only looked really elegant, but it also also pleased all of the girls there, whom all enjoyed a salad! If I am throwing a party with a more diverse crowd, I might do something with multiple meats and different options to choose from, like a taco, pizza, or chili bar. When ti comes to dessert bars, the great thing about those is you pretty much can't go wrong. As long as you have a few different options, most people will find something they enjoy. I also think about where the location of the food and party will be, which will make a difference in the types of food I will serve and prepare, based on if it will be indoors or outdoors. Also, when it comes to choosing foods, I try to keep most of my food items healthy, but still appealing to a large crowd (that is where Dashing Dish recipes come in!) Of course, I might have a few things that are not the healthiest, such as chocolate chips, but for the most part, I try to keep the main dishes on the healthier side!
Step 3. Select a theme and/or colors.
This might not always apply, especially if it is a casual party, but if I know there will be a theme to the party (especially if it is a wedding or baby shower), then I like to start thinking about the colors of the food, napkins, plates, etc. For example, this may help you pick the flavor of cupcake, frosting flavors, or desserts you will make, and of course it will help you think about decorations you may need. The great thing about food and dessert bars is that they are often cute enough by themselves, and the food is decoration enough, so I often only plan for a few little decorative accents such as flowers, paper straws, wooden spoons, and possibly linens to drape across the table, which I set the food on.
Step 4. Begin to think about numbers.
Once you know what your menu will look like, you will need to start planning your grocery list. I often do this well in advance, and just as soon as I have a rough head count for the party. I like to be prepared ahead of time, and even get ingredients that might be hard to find ahead of time if possible. I like to safely assume that each guest will have at least one serving of food and/or dessert, and I generally multiply that number by at least two per guest. From there, I determine if anyone will be bringing a dish to the party, and if so, I generally give them a few specific ideas to choose from so it will go with the theme. Once I know about how much food I will need to buy/prepare, I start to write up a rough grocery list.
Step 5. Think about set up and details.
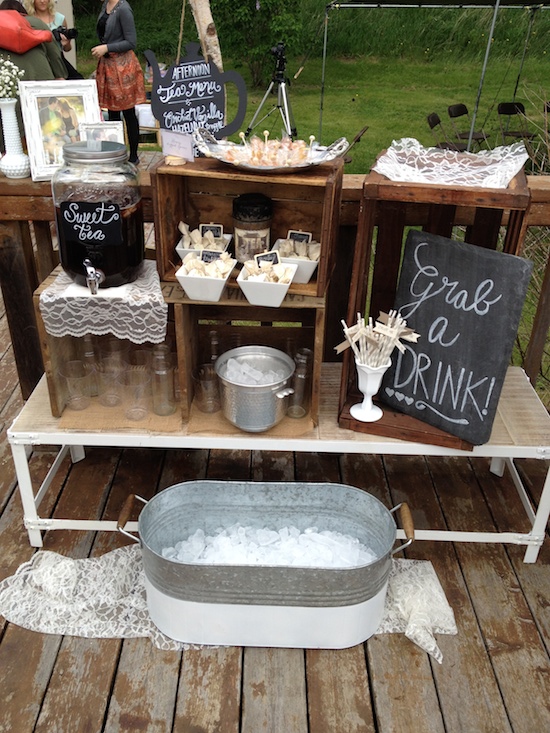
Once you know where your food/dessert bar will be located (any long table will work), and what you will be serving, it is time to plan the set up! This can be really simply done, or a bit more extravagant, based on the look you are going for, and the type of party.
1. The first thing I think about is linens. The type of linen or runner you choose for your bar will vary based on the party, and the great thing is you can either rent them or purchase them for a great deal if you buy some fabric from the craft store, or you could buy one or two basic runners, so that you can keep re-using them, (I have a burlap runner that I re-use for almost every party). I also like to get paper plates and napkins that go with the color and theme.
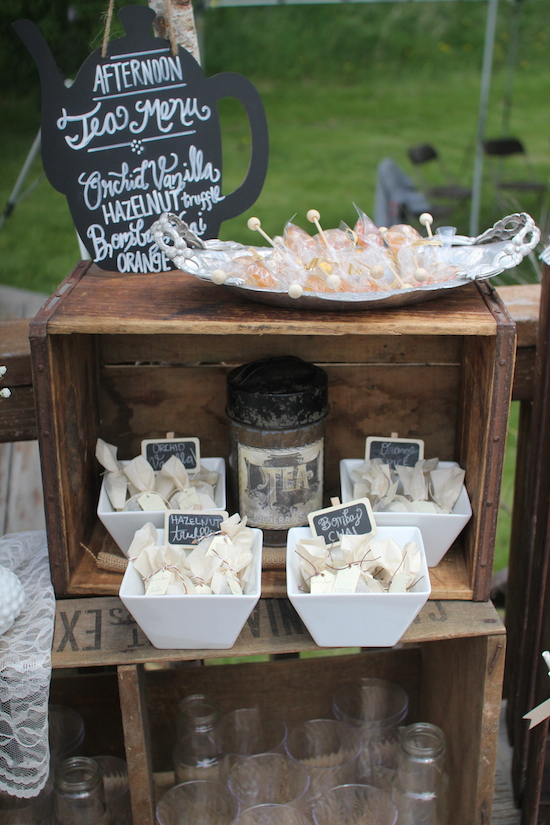
2. After choosing the linens, I think about if I want different elevations. This can be simply done by using cake plates, boxes, crates, trifle bowls, basic plates, trays, or even a stack of books! The key here is just simply to add different heights to the bar, which allows you to place some things in the back, and some things in the front without things getting lost. Otherwise, it would just end up looking like a huge pile of food, and it will be hard for your guests to sort through.
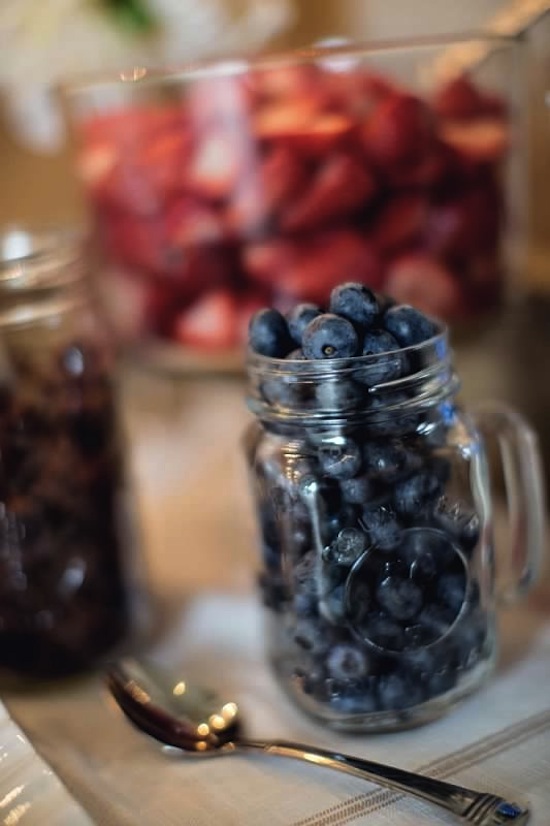
3. Choose plates, bowls, trifle bowls, cake plates, jars, and trays you will want to use. I like to use mason jars for a lot of my food and dessert bars, because you can buy them in bulk for really cheap (Walmart has a great deal on a 12 pack). I like to use the bigger ones for larger items such as salad toppings, and smaller ones for my dessert bar toppings. As far as plates go, you can really get creative and mix and match what you have, but if you don't have much to work with, you can always go to a second hand store such as Good Will (you'd be surprised how many cute dishes they have there), or look at an inexpensive store such as Home Goods! In general, when I am buying plates, trays, etc., I try to think practically, and buy white or clear items, so I can keep re-using them in the future. Also, don't forget about serving utensils! Be sure that every dish has something you can serve it with, such as a spoon, tongs, or a pie server. I even like to practice 'setting up' my food/dessert bar the night before the party sometimes so that I can be sure I have all the right serving items.
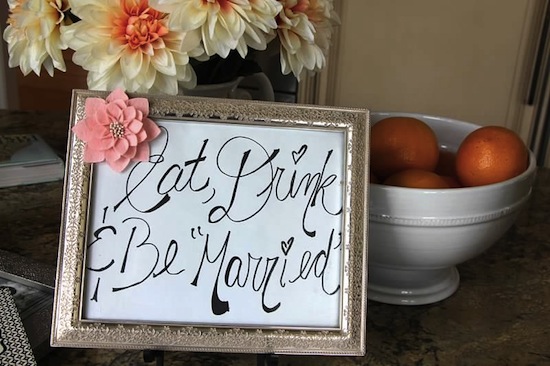
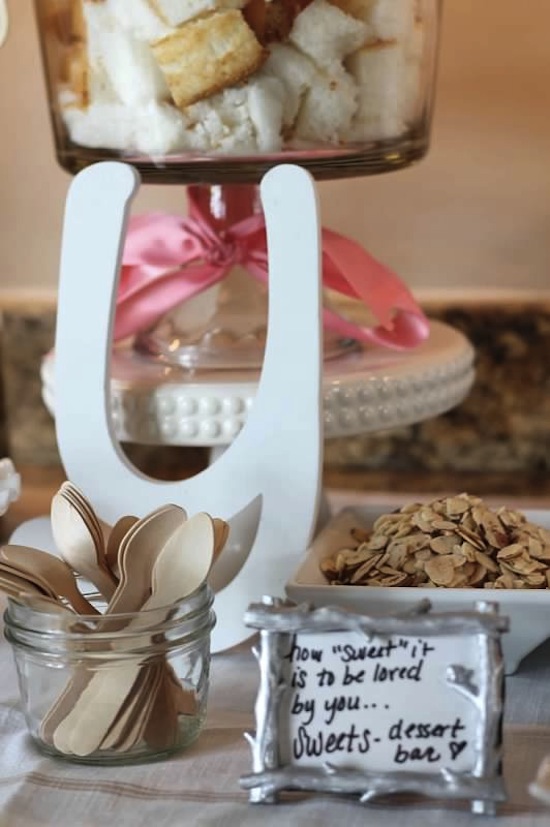
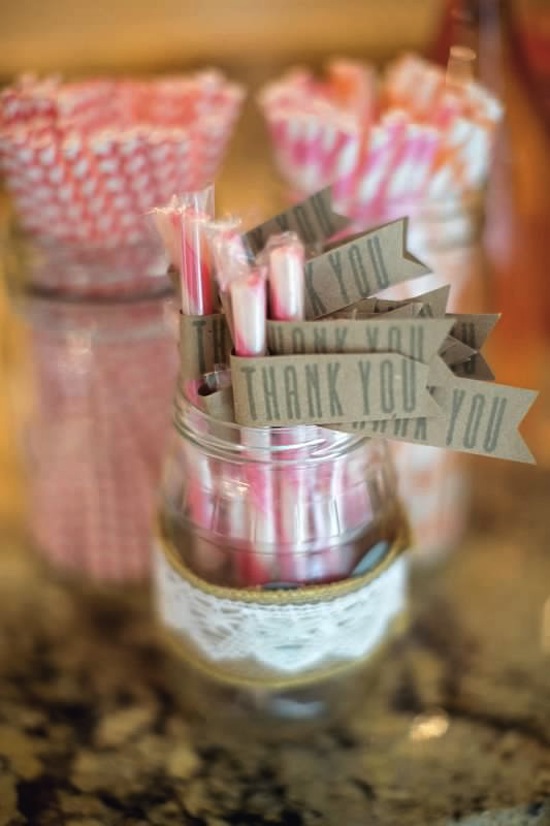
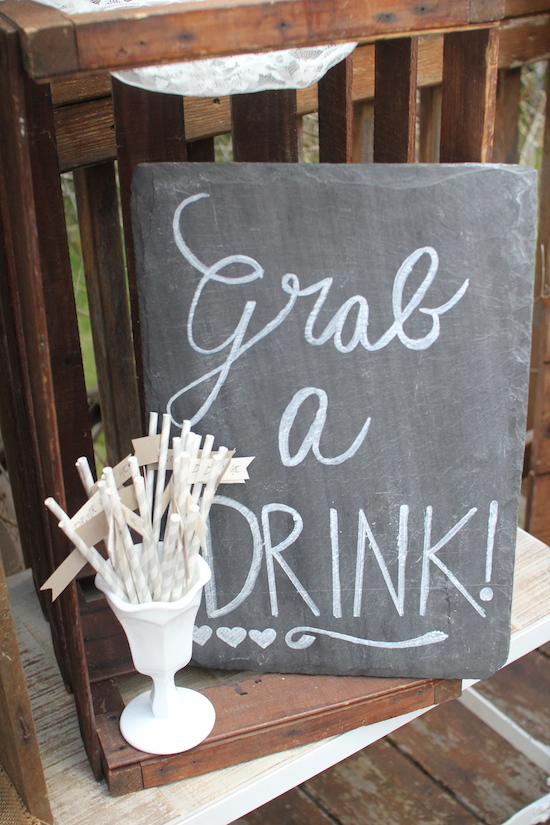
4. Think about details. Like I said earlier, you won't need to buy a lot of decorative details, because the food/dessert bar in itself is generally pretty adorable, so I like to just pick out a few little accents to bring out the color and/or theme that I am going for. One great way to do this is by using colored paper straws and wooden utensils (I buy them at Home Goods or on Etsy or Amazon for a few dollars.) I also like to make little signs/labels which can be done really simply by cutting out little pieces of paper, and folding them, or with something like mini chalk boards (Amazon/Etsy have great deals, and these can be re-used). You can also make little paper tags for things, buy colorful candies to tie in your color theme, and even buy flowers (or use fake flowers) for an elegant touch!
and last but not least...
Step 6. Think about ways to save money!
Let's face it, throwing a party can be pretty expensive. When it comes to entertaining or catering, I always try to think about ways I can save money. One great way to do this is by planning ahead. When you plan ahead and know what you are going to buy, this will allow you to look for sales on food (as long as they are items that will stay fresh until your party, or can be frozen), and other items such as paper plates and napkins. Buying things in bulk can also be a great way to get a deal, as long as you know you will be able to use it all. When it comes to saving on serving wear and the details, I like to start by looking around my house for items I already have. Also, like I mentioned earlier I like to shop at second hand stores, and craft stores (which usually have great coupons) for little details, crates, and mason jars, and I like to get a few items on Etsy and Amazon if I need something special. You can also plan to do the food and/or dessert bar with someone. For example, my sisters and I generally work on them together, which makes the work and cost go down, as it is divided among two or three people. The general thing that I try to keep in mind when I am hosting or catering any party though is that I am doing it to bless the person that we are celebrating, or just to bless my guests! When you think of it that way, it always makes the time and money invested worth while!
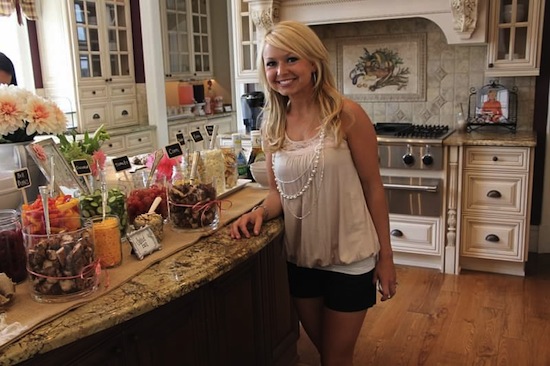
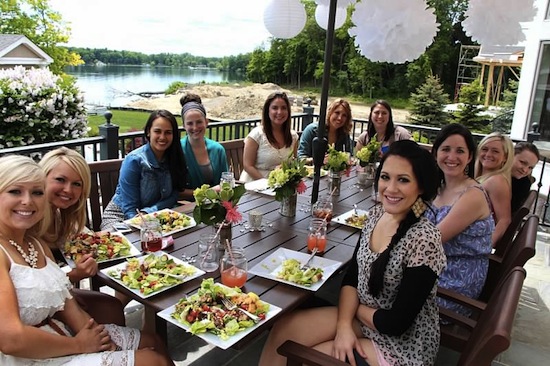
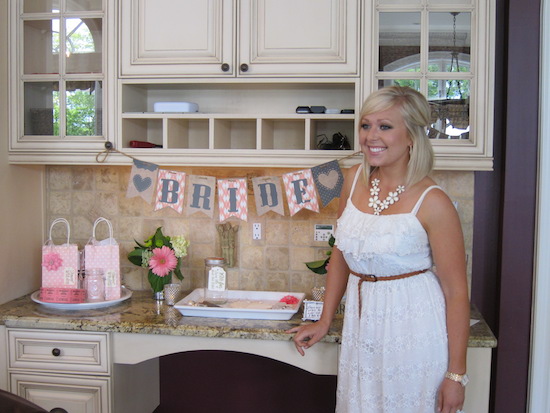
Now, to give you guys an even better idea on how to put these steps together I thought I'd share a few pictures of some events I prepared food and dessert bars for! Here is an example of a salad bar that Id did for my sister Emily's wedding shower. The shower was held at my sister Sarah's house this past summer.


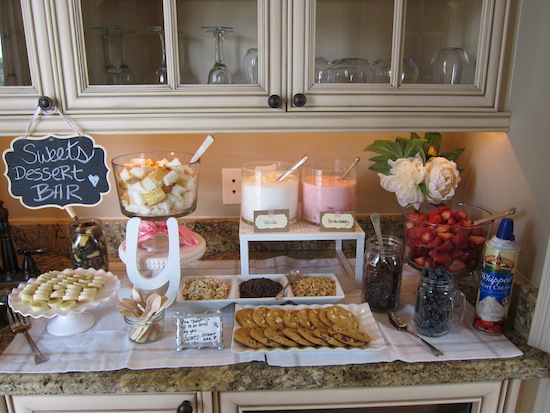
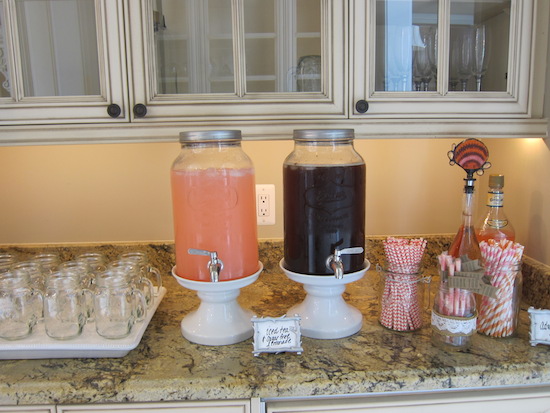
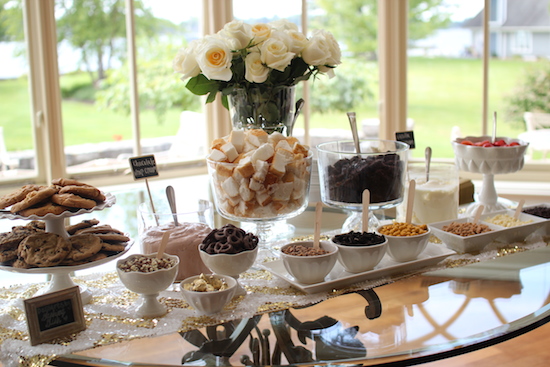
We also did a dessert bar for her shower, which was really fun. It was sort of a 'build your own trifle' theme, and Sarah had cute little sunday cups for each girl to build their own mini dessert parfait in.
Emily's wedding colors were coral and gold, so I threw in a few items to tie in her colors.

The beautiful bride had a great day, and it certainly was a shower to remember!
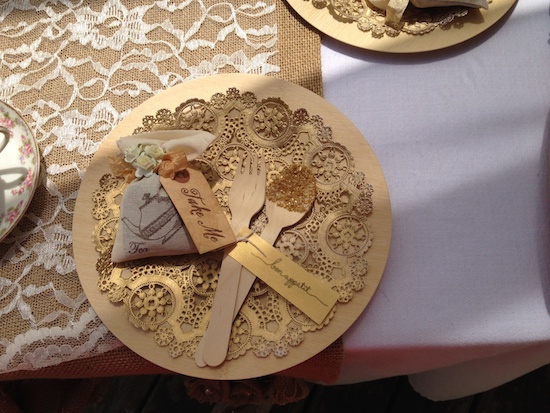
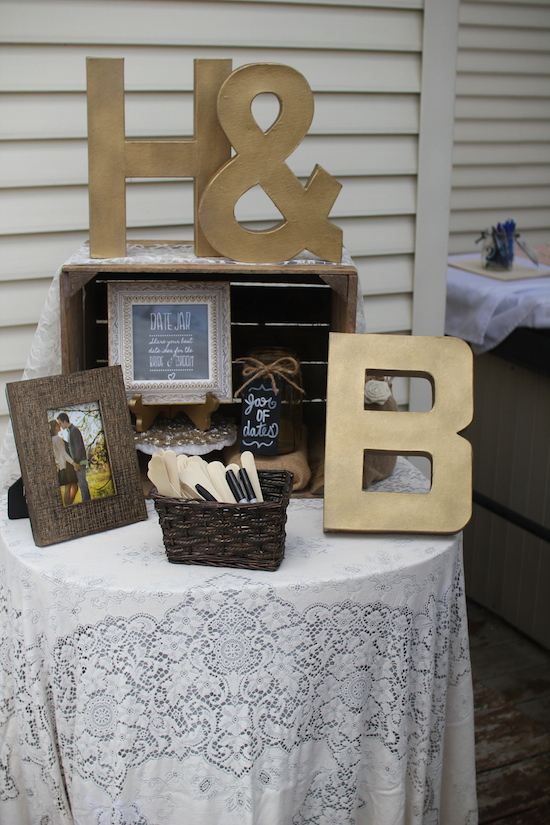
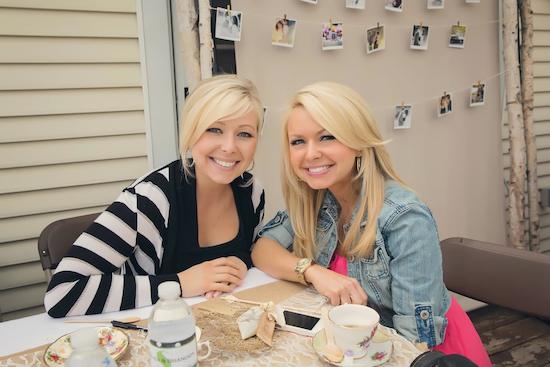
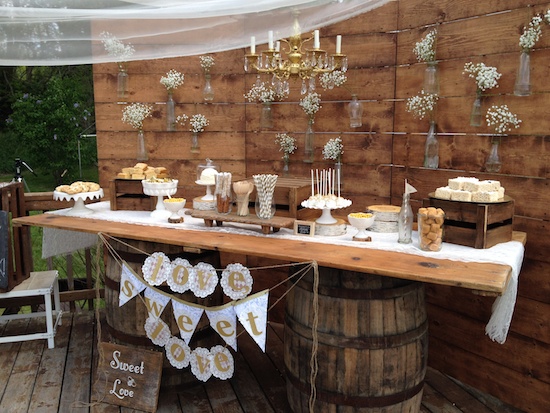
Another bridal shower that I recently did the dessert bar for was my good friend Heather. This shower was put on by my friend Dayna (who is also an amazing photographer, and took some of these amazing photo's! :)) The theme for this party was a tea party, with whites and golds being her colors, so we did something a little more elegant, yet still rustic because it was outdoors.
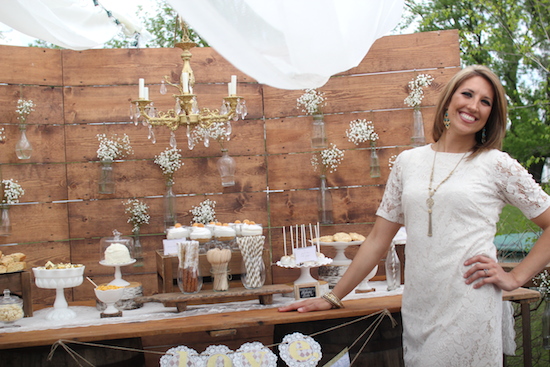
Dayna asked friends and family to borrow tea cups, and plates, which helped lower the cost, and she rented a lot of the other items, such as the barrel table, crates, and linens.
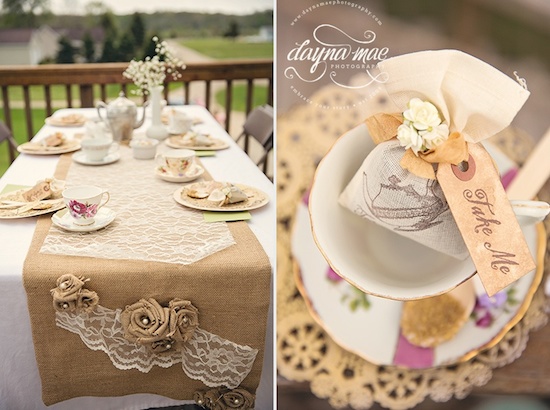
Dayna also made all the tags for everything, and used a lot of her chalk boards that she already had to make signs for things. This attention to detail really made each item feel personalized and very special.

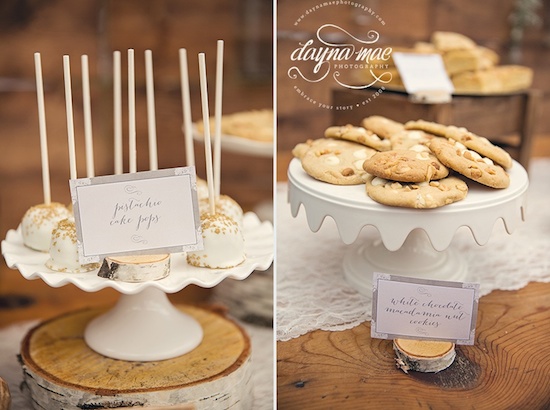
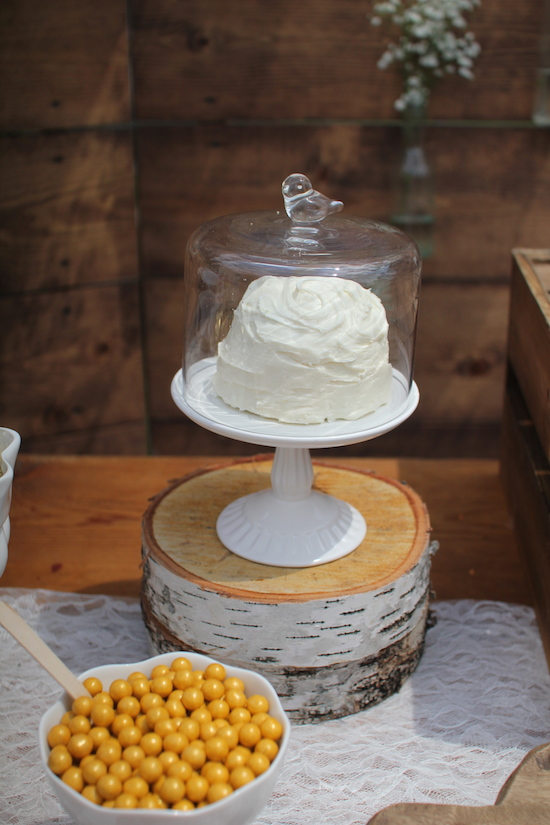
For the dessert bar, I chose to do cake pops and cookies that were the brides favorite flavors, (pistachio and white chocolate macadamia nut cookies), and I even made a personal little pistachio cake for the bride to enjoy after the shower!
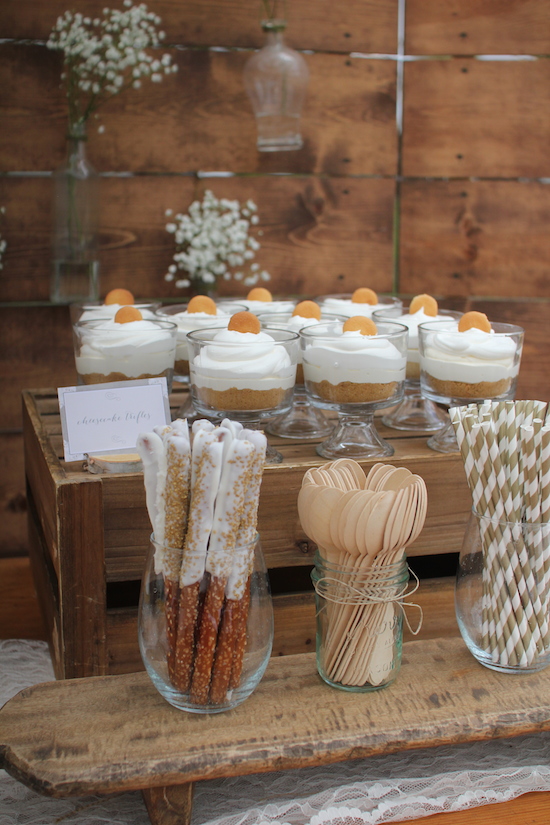
I also made no bake cheesecake trifles (recipe coming soon), white chocolate drizzled rice crispy treats, blondies, and chocolate covered pretzels. For most of these items, I made healthier options whenever possible.

Here I catered a business meeting for 40 + women! I did a breakfast bar, followed by a salad and dessert bar for lunch!


I hope these 'how to' steps were helpful in learning how to set up a food or dessert bar! It really can be quite fun, and they certainly do present quite beautifully at any party! You can keep it quite simple, or do something extravagant if you choose, but the key is to have fun and celebrate the ones you love!
on this blog post
More Comments Loading...I'd love to hear your thoughts!